3D Models for Education from One Photo or Drawing
Photograph an artifact, a specimen or a student's drawing and get a 3D model for your lesson: untextured usually in under a minute, textured in 3 to 5 minutes. Students open it in a free browser viewer, in AR or as a print.
- 3 free credits, no card
- Free viewer, no student accounts
- GLB, USDZ, STL
By SupaVoxel Team·Updated
Drop in a picture, get a 3D model
3 free credits · Google sign-in · no card
Why make your own 3D models for education
Model libraries are full of generic objects, and rarely the one your lesson is about. The Roman oil lamp in the local museum, the shell a student brought in on Monday, the mask your class studied in art: nobody has uploaded those. With one photo you can make 3D models for education that match what you actually teach.
A model on screen changes how students look at an object. They can turn it over, zoom into the base, compare two pieces side by side and argue about how it was made. Printed, the same model goes around the room in their hands.
Be clear with students about what it is. The AI reconstructs the object from one picture and infers the sides it cannot see. It is an illustration with the right overall look, not a scan and not a measured replica. That is a useful discussion in itself: what does the photo show, and what did the software guess?
From a photo to 3D models for the classroom
A workflow that fits into lesson prep. Only the teacher needs an account.
- 01
Photograph one object
Place it on a plain surface, in even light, and shoot from a front corner slightly above so the top and two sides show. Fill the frame. Remove Background is on by default in the studio, so a desk behind it is fine. For drawings, use sketch to 3D. - 02
Generate the model
Upload the photo here or in the studio. An untextured model costs 1 credit and is usually ready in under a minute. A textured one costs 3 credits on a paid plan and typically takes 3 to 5 minutes. A failed generation refunds its credits. - 03
Check it before class
Download the GLB and open it in the free 3D model viewer. Rotate it once and look at the back and underside, where the AI had the least to go on. If something is wrong, try a clearer photo or add up to 4 extra angles. - 04
Share the file
Put the GLB in your class folder or learning platform. Students open it in the same browser viewer on a laptop, a Chromebook or a tablet. It needs no sign-up, and the file stays on their device. - 05
Take it further
For AR on iPads, convert it with the free GLB to USDZ converter. For the printer, export STL on a paid plan or use the free GLB to STL converter, then slice as usual.
Educational 3D models made from one picture
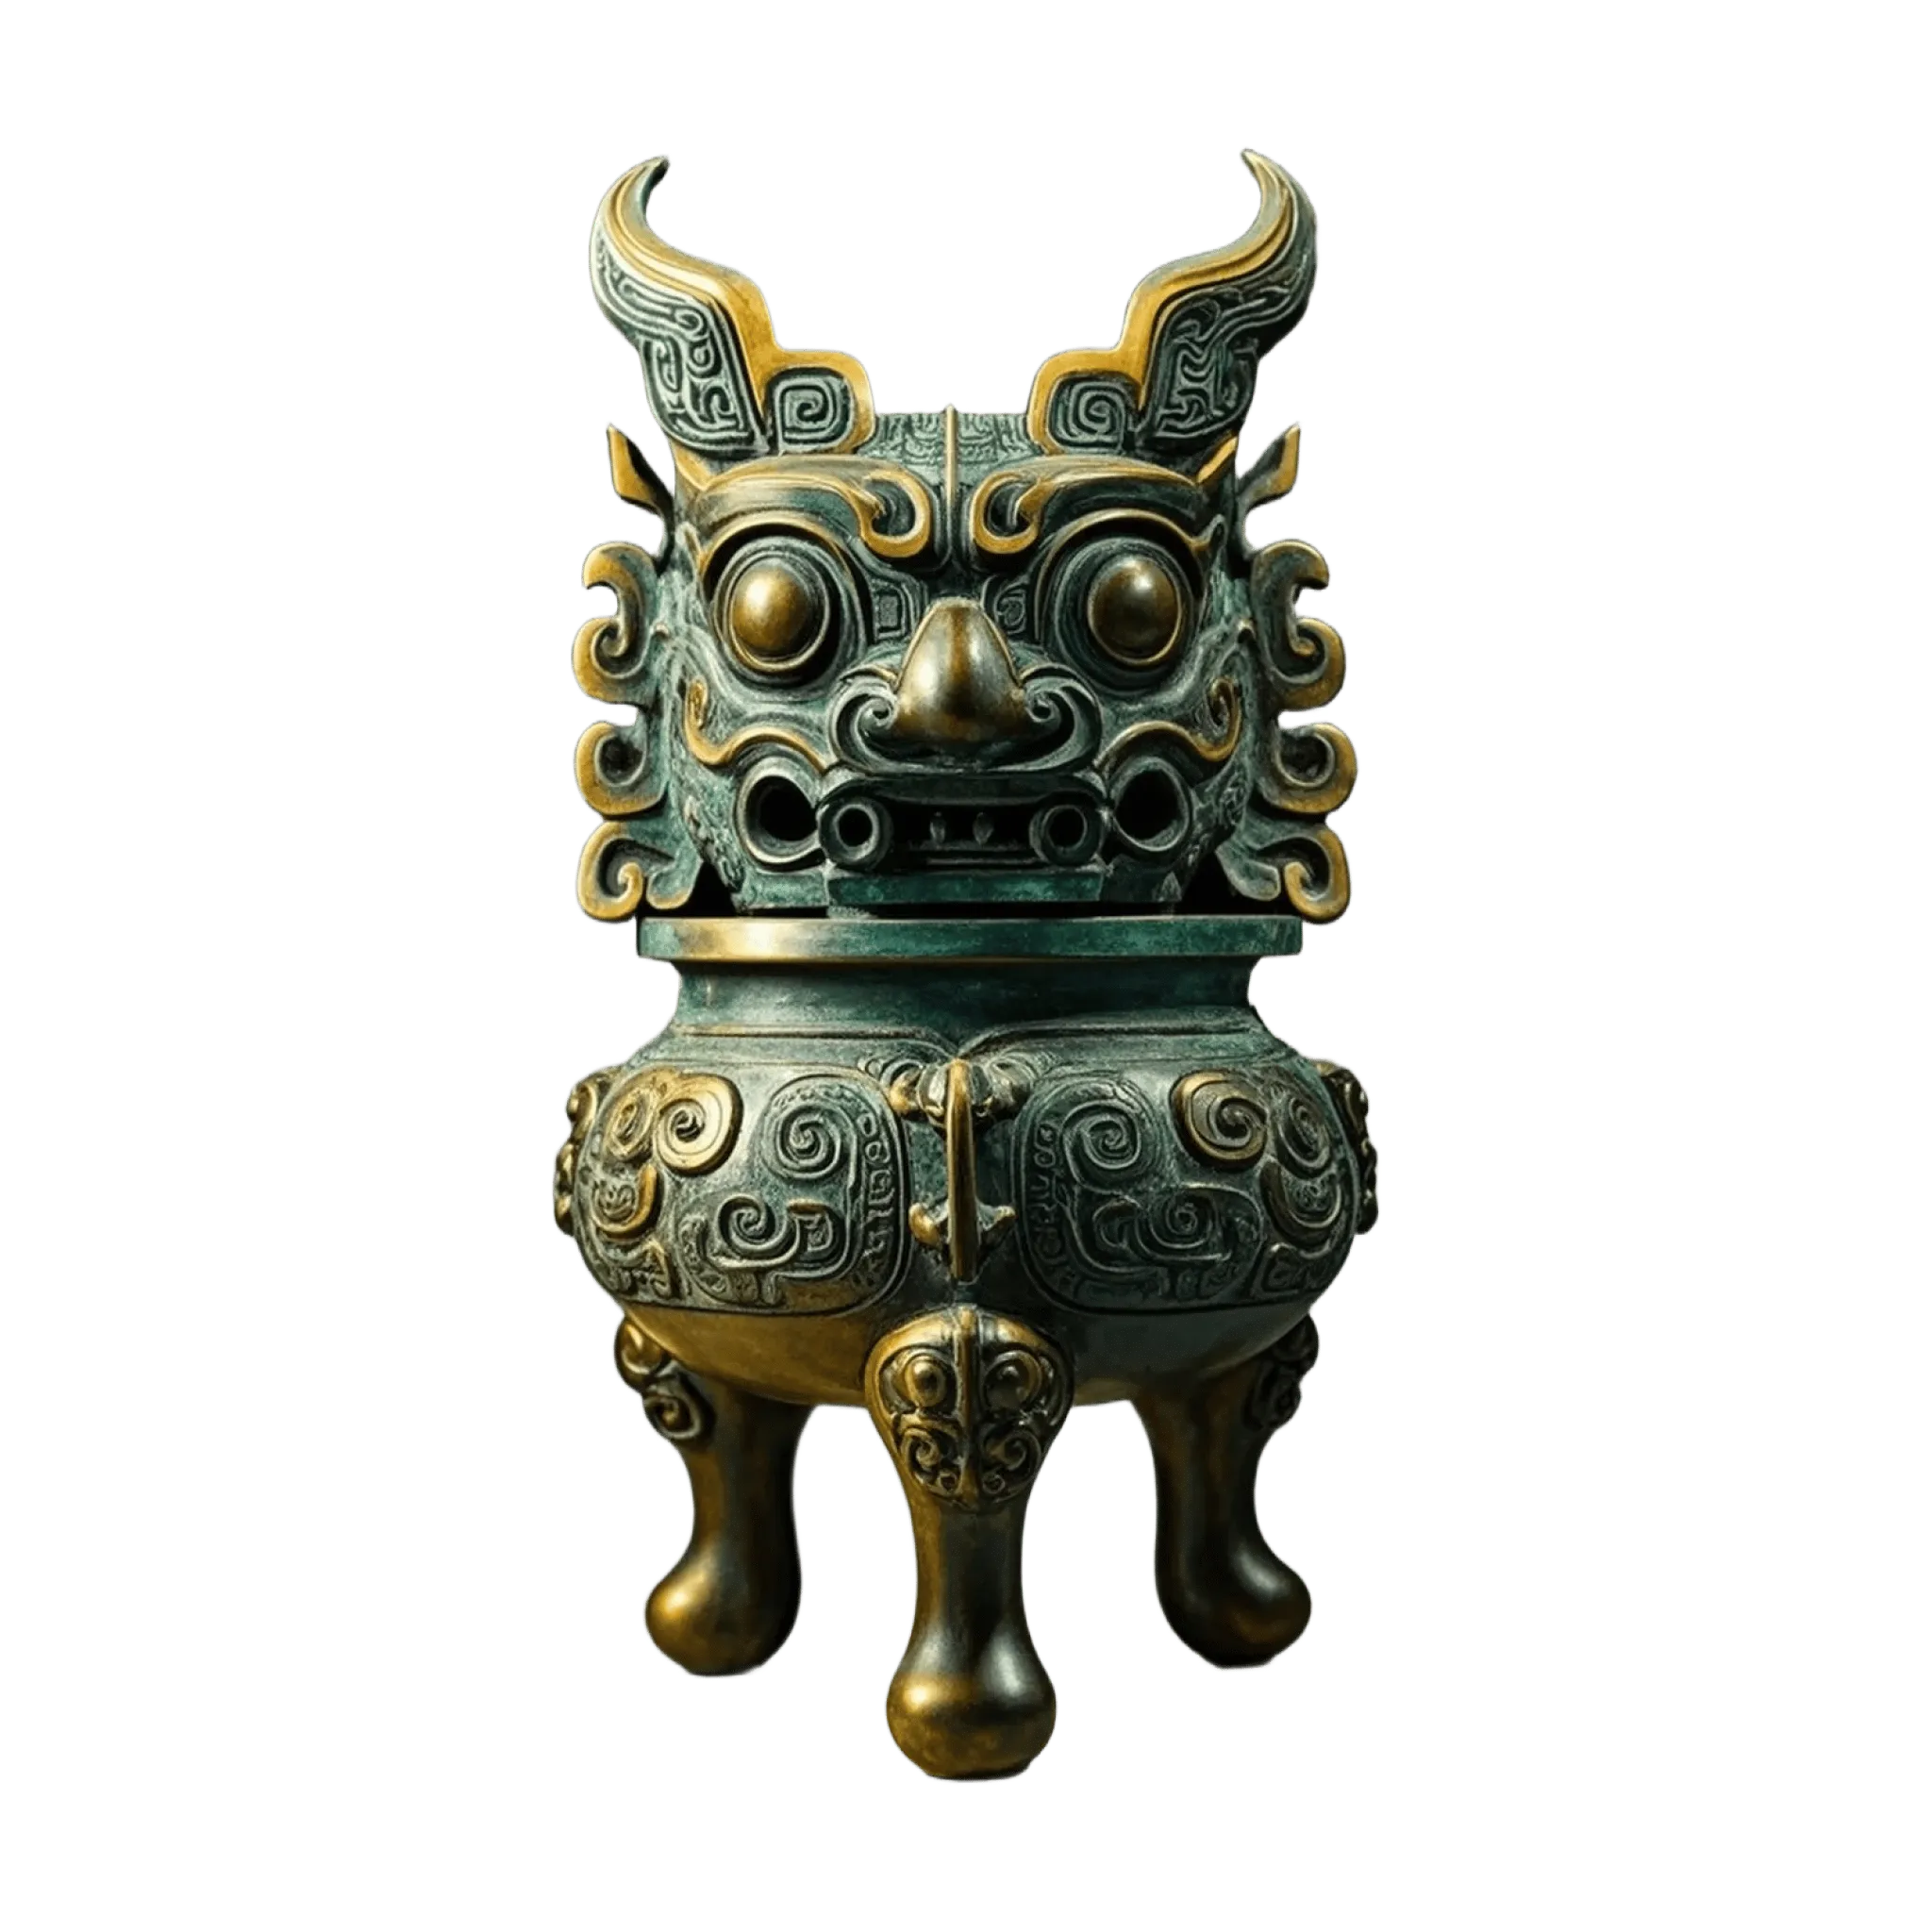
Objects in the style of museum pieces and folk art, each generated from a single image. Rotate them the way a student would.
3D models for teaching: ideas by subject
What works well from a single photo, and one thing to watch in each case.
History
- What to model
- Museum objects, replicas, coins, tools, pottery
- Watch out for
- Inscriptions blur; show the photo next to the model
Art
- What to model
- Sculptures, masks, ceramics, students' clay work
- Watch out for
- Check the museum's photography rules before you shoot
Biology
- What to model
- Shells, seed pods, bones and skull replicas
- Watch out for
- Not anatomically exact; thin parts such as wings fail
Earth science
- What to model
- Rocks, minerals, fossils and casts
- Watch out for
- Crystals and translucent stones lose their look
Design and technology
- What to model
- Student sketches and cardboard prototypes
- Watch out for
- The print shows the form, not a working mechanism
Geography
- What to model
- Landmarks and buildings from a photo
- Watch out for
- For terrain, use the free heightmap to STL tool
Primary classes
- What to model
- Children's drawings turned into objects
- Watch out for
- Bold outlines and filled shapes work best
| Subject | What to model | Watch out for |
|---|---|---|
| History | Museum objects, replicas, coins, tools, pottery | Inscriptions blur; show the photo next to the model |
| Art | Sculptures, masks, ceramics, students' clay work | Check the museum's photography rules before you shoot |
| Biology | Shells, seed pods, bones and skull replicas | Not anatomically exact; thin parts such as wings fail |
| Earth science | Rocks, minerals, fossils and casts | Crystals and translucent stones lose their look |
| Design and technology | Student sketches and cardboard prototypes | The print shows the form, not a working mechanism |
| Geography | Landmarks and buildings from a photo | For terrain, use the free heightmap to STL tool |
| Primary classes | Children's drawings turned into objects | Bold outlines and filled shapes work best |
Printing 3D models for the classroom
A print turns a screen lesson into something students can hold. The generated mesh needs two things first: a closed, watertight surface and a real size. The studio's one-click repair handles the first on paid plans, and the free STL repair tool does it in the browser for any file. Then scale the model in your slicer; 60 to 100 mm on the longest side suits most handling models.
- Direct STL and 3MF exports are on paid plans; the free GLB converts to STL in the browser
- Place the flattest side on the bed and let the slicer add supports under overhangs
- Thicken or remove fragile parts that small hands will snap
- Not sure which format your printer wants? See the file format guide
- The full print workflow is on the image to STL page
What teachers get, and what it costs
- Input
- One PNG, JPG, WebP or HEIC photo up to 10 MB, plus up to 4 extra angles
- Output
- One closed, triangulated mesh; textured models carry a single PBR material
- Free to start
- 3 credits with Google sign-in, no card: three untextured models as GLB
- Paid plans
- From $25 a year for 400 credits: textured models, STL, OBJ, USDZ and 3MF exports
- Credit cost
- 1 per untextured model, 3 per textured model
- Student access
- Free browser viewers and converters need no account
- Hard cases
- Glass, liquids, fur, feathers, thin stems, insects' legs and wings
- Not included
- Measured accuracy, internal structure, labels or annotations, animation
Using educational 3D models in a lesson
Four ways the same file ends up in front of students.
On the projector
On student devices
In AR
As a print
Student projects
Critical thinking
Better classroom models from your photos
- Use a plain table or a sheet of paper as the background
- Shoot near a window or in even room light, without flash glare
- Show the top and two sides in one view
- Add back and side photos for objects with a detailed reverse
- Preview every model yourself before students see it
- Photograph through a glass display case if you can avoid it
- Put several objects in one photo
- Use it where measurements matter, such as anatomy or lab work
- Present the model as a scan of the real object
- Upload photos that show students' faces
Accuracy, rights and good practice
A reconstruction from one photo is plausible, not verified. Proportions follow the picture, the hidden sides are inferred, and surface detail such as inscriptions or fine carving softens. Use the models to illustrate and to start discussion. When a lesson depends on exact shape, such as comparing bone measurements, use a real scan or the object itself.
Photograph your own objects, classroom materials and student work freely. For museum pieces, follow the museum's photography policy, and keep in mind that modern artworks are usually still in copyright. Paid plans include a commercial license for the models, which matters if you publish or sell teaching resources.
Keep the workflow simple for students: the teacher generates, and the class views, places and prints. More print-ready projects are on the figurine from photo page.
Frequently asked questions
Where can I get 3D models for education?
Is it free for teachers?
Do students need an account?
How accurate are the models?
Can I 3D print the models on a school printer?
What devices do students need?
Can students turn their own drawings into 3D models?
Can I use photos taken in a museum?
Keep going
Make 3D models for education from your next photo
Photograph one object, generate the model, and share it with your class the same day. 3 free credits, no card.
No credit card required · 3 free credits to start