Sketch to 3D Model Converter
Photograph a drawing or upload line art and the AI builds a solid 3D model of it, sides and back included. Untextured results usually take under a minute.
- Paper or digital
- Photo of a sketchbook works
- 3 free credits, no card
By SupaVoxel Team·Updated
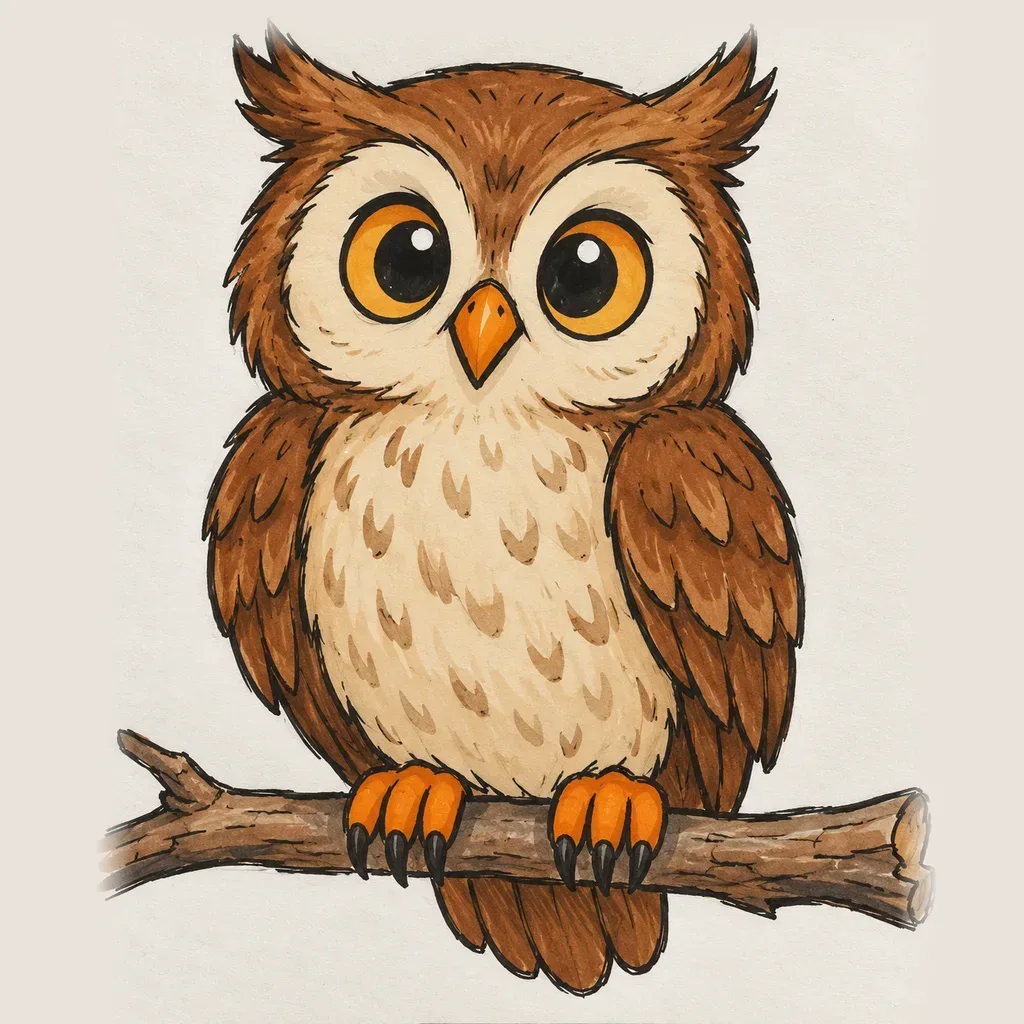
Turn a drawing into a 3D model
3 free credits · Google sign-in · no card
How sketch to 3D works in three steps
The same reconstruction as photo input, tuned by how you prepare the drawing.
- 01
Capture the drawing
Scan it, or photograph it from straight above in daylight so the paper is evenly lit. Crop to the object. Digital art from Procreate, Krita or Photoshop can go in as PNG. Upload up to 10 MB on the generator above. - 02
Generate the model
The studio removes the paper background and reconstructs the object. Geometry only costs 1 credit and usually finishes in under a minute; it shows you whether the AI read your shapes correctly. Add a texture (3 credits, paid plan, typically 3 to 5 minutes) once the form is right. - 03
Check it and export
Rotate the model to check the back, which your sketch never showed. Download GLB for free, or STL, OBJ, USDZ and 3MF on a paid plan. Repair it to a watertight solid in one click before printing.
Line art vs. a shaded drawing
The AI reads depth mostly from shading. A bare outline tells it where the edges are but not which parts come forward, so a pure contour drawing often comes back flatter or with soft, puffy volumes. Ten minutes of shading changes that: a light source, darker undersides and a cast shadow are exactly the cues the model needs.
Color helps too. Flat marker or digital fills tell the AI where one part ends and the next begins, and on a textured run they become the colors of the model. If you only have line art and a Pro plan, give the sketch to Image Studio as a reference and ask for a rendered version, then turn that picture into 3D.
- Outline only: works for simple, chunky shapes
- Shaded pencil: much better depth on faces and folds
- Flat color fills: clear part boundaries and a usable texture
- Rendered concept art: closest to a photo, best results
Drawing to 3D model examples
Each model started as a single illustration. Click a card to load the real 3D file and turn it around.
Preparing a drawing for sketch to 3D
Small changes to the drawing make a bigger difference than any setting.
- Draw the object at a three-quarter angle, not flat front-on
- Close your outlines; gaps can merge the object with the paper
- Add shading, or at least darken the undersides
- Use thick lines; faint pencil can vanish when the background is removed
- If you have a turnaround sheet, upload each view as an extra angle
- Upload a whole sketchbook page with several drawings on it
- Photograph at an angle; perspective distortion warps the model
- Leave construction lines and guide circles in the final drawing
- Draw tiny details you expect to become geometry, such as stitches or text
- Use a blue-lined notebook page; the grid can be read as surface detail
Which kind of drawing to 3D works best
How different drawings usually come out, so you know where to spend effort before you spend credits.
Character concept, colored
- Result
- Very good
- Tip
- Keep arms slightly away from the body so they separate cleanly
Creature or mascot, shaded pencil
- Result
- Good
- Tip
- Exaggerate the shading on the belly and under the head
Product or prop, ink
- Result
- Good for symmetric objects
- Tip
- Draw at a three-quarter angle with an ellipse for round parts
Pure contour line art
- Result
- Fair, can look inflated
- Tip
- Add flat color or let Image Studio render it first
Floor plan or orthographic blueprint
- Result
- Poor
- Tip
- This is CAD territory; the AI expects a view of an object
Logo or lettering
- Result
- Use a different tool
- Tip
- SVG to STL extrudes it precisely
| Drawing | Result | Tip |
|---|---|---|
| Character concept, colored | Very good | Keep arms slightly away from the body so they separate cleanly |
| Creature or mascot, shaded pencil | Good | Exaggerate the shading on the belly and under the head |
| Product or prop, ink | Good for symmetric objects | Draw at a three-quarter angle with an ellipse for round parts |
| Pure contour line art | Fair, can look inflated | Add flat color or let Image Studio render it first |
| Floor plan or orthographic blueprint | Poor | This is CAD territory; the AI expects a view of an object |
| Logo or lettering | Use a different tool | SVG to STL extrudes it precisely |
After sketch to 3D: finishing the model
The drawing gets you a mesh. These studio tools turn it into something you can print, paint or ship.
Watertight repair
Your colors on an AMS
Split, base and mold
Game-ready files
Where sketch to 3D helps, and where it doesn't
The best use is speed. A character designer can see a doodle as a rotating model before committing to a full sculpt; a teacher can turn a student's drawing into a printed figure the same day; a tabletop player can draw a monster and print it for the next session with the miniature generator.
Treat the result as a solid first draft. The back is predicted from what's typical for that kind of object, and your style can be smoothed toward the AI's idea of the subject. Very stylized proportions, like a tiny body with a huge head, are generally kept; abstract or impossible shapes are not.
For technical drawings with dimensions, use CAD, because the model has no units and won't respect measurements. For a flat result such as a relief of your drawing, the free heightmap to STL tool is the better fit. If you work from a written idea instead of a drawing, see text to 3D; for a photo, image to 3D.
Related tools for your drawing
Other ways in, and free tools for what comes after.
Frequently asked questions
Can AI turn a sketch into a 3D model?
Is sketch to 3D free?
Do I need to scan my drawing?
Why does my model look flat or puffy?
Can I upload several views of my character?
Can I 3D print my drawing?
How long does sketch to 3D take?
Does it work with digital art from Procreate or Photoshop?
Keep going
Bring your sketch to 3D
Upload a drawing and see it as a model you can rotate, print or use in a game. 3 free credits, no card.
No credit card required · 3 free credits to start